Simple Table Build
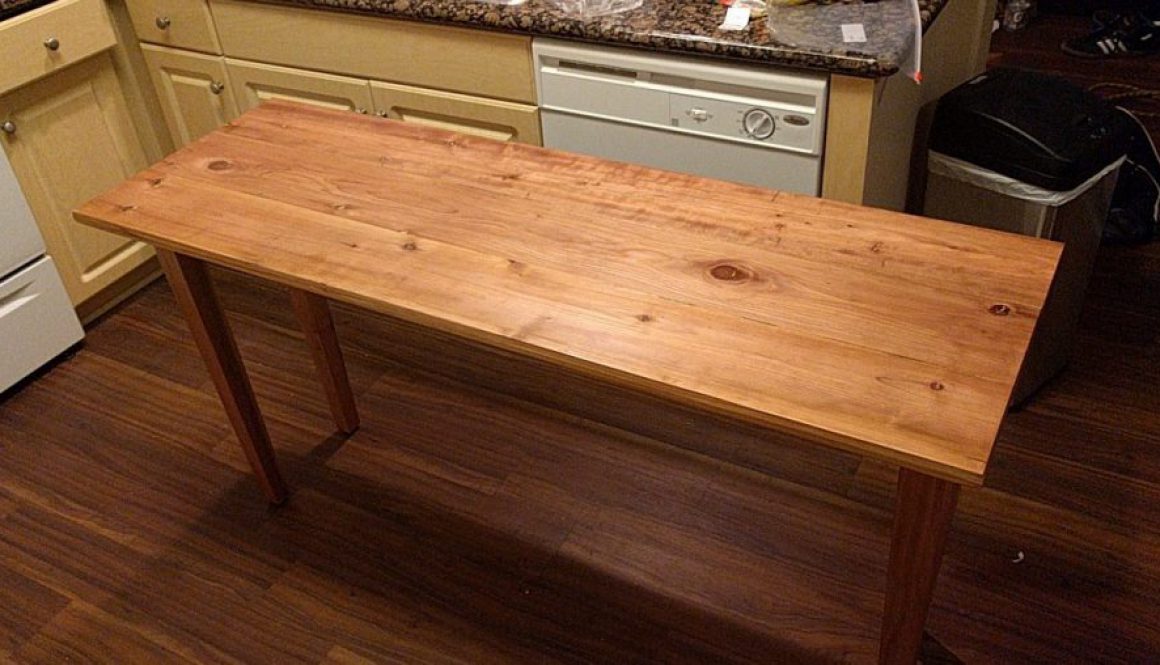
This was my first serious wood working project. I had a glass L-shaped desk that I really wasn’t happy about. I decided to challenge myself and build a simple desk with tapered legs.
I began by creating a panel of Redwood 2×6’s. Redwood is primarily an outdoor wood and tends to be too soft of heavy wear furniture, but I was looking for something inexpensive to try building my first piece of furniture.
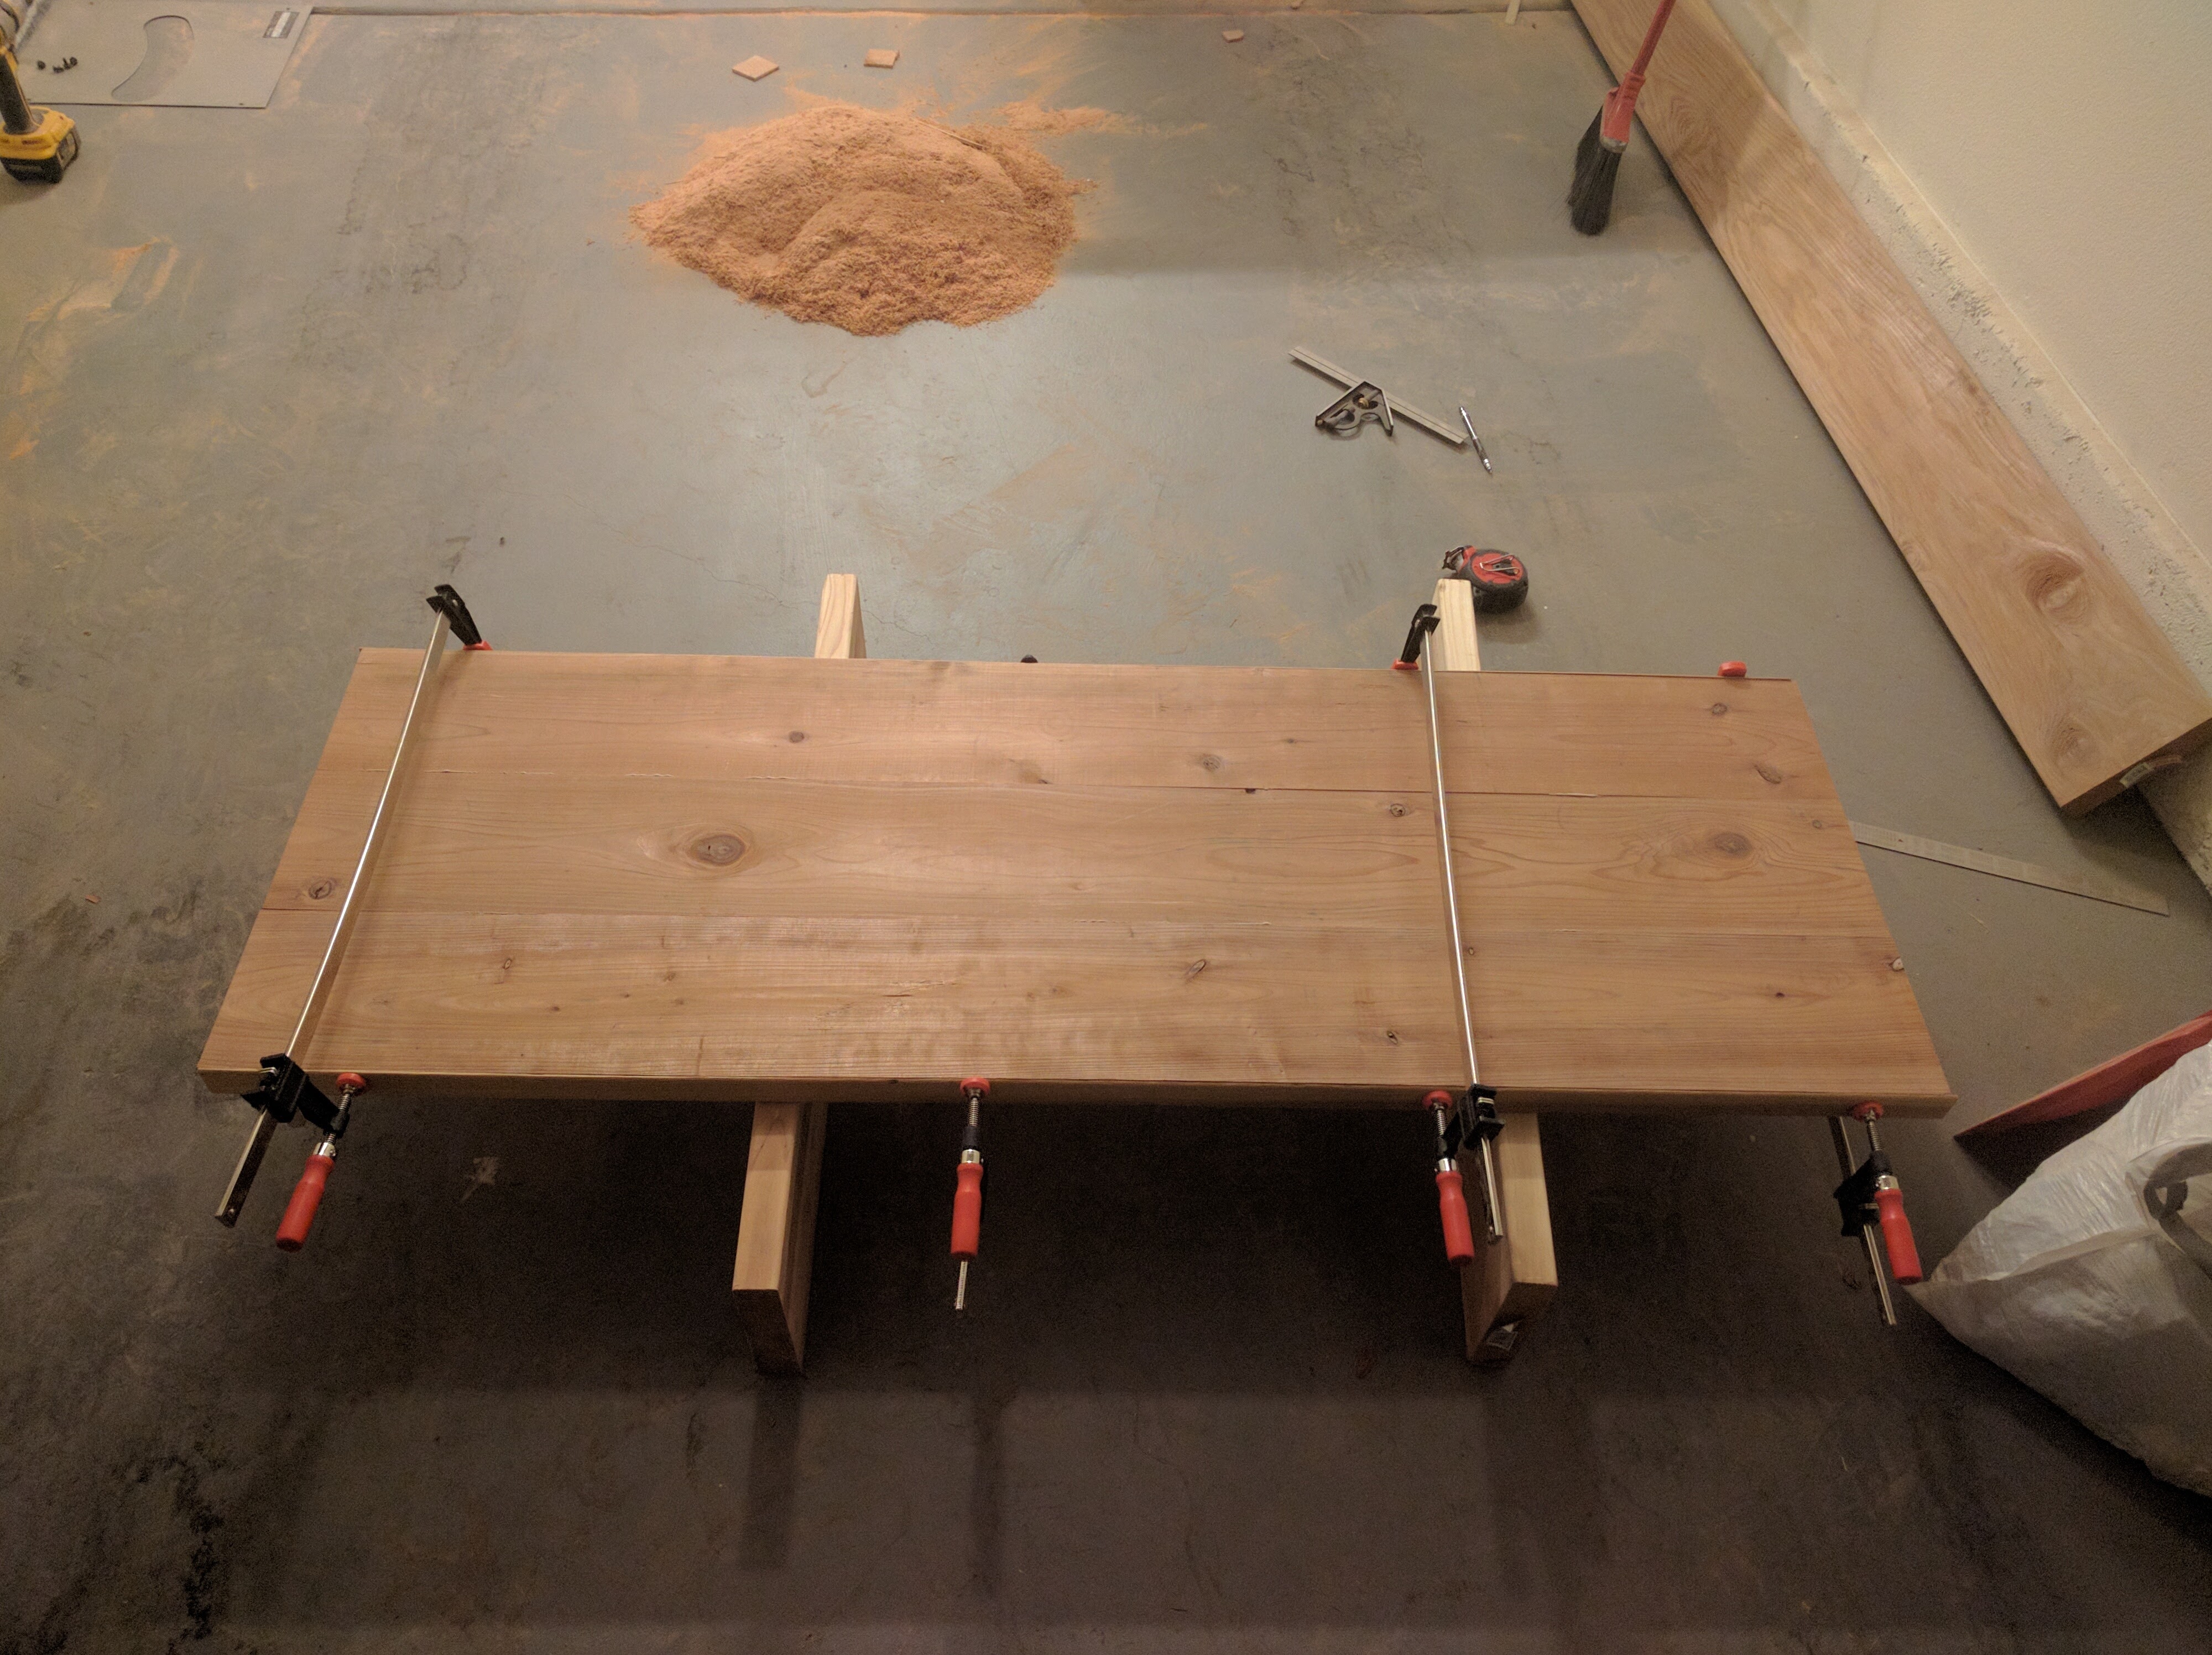
I then cut some long and short stretchers and laid out some shoulders for some mortise and tenon joinery. Mortise and tenon wasn’t the easiest for a first time furniture project, but go big or go home right!?
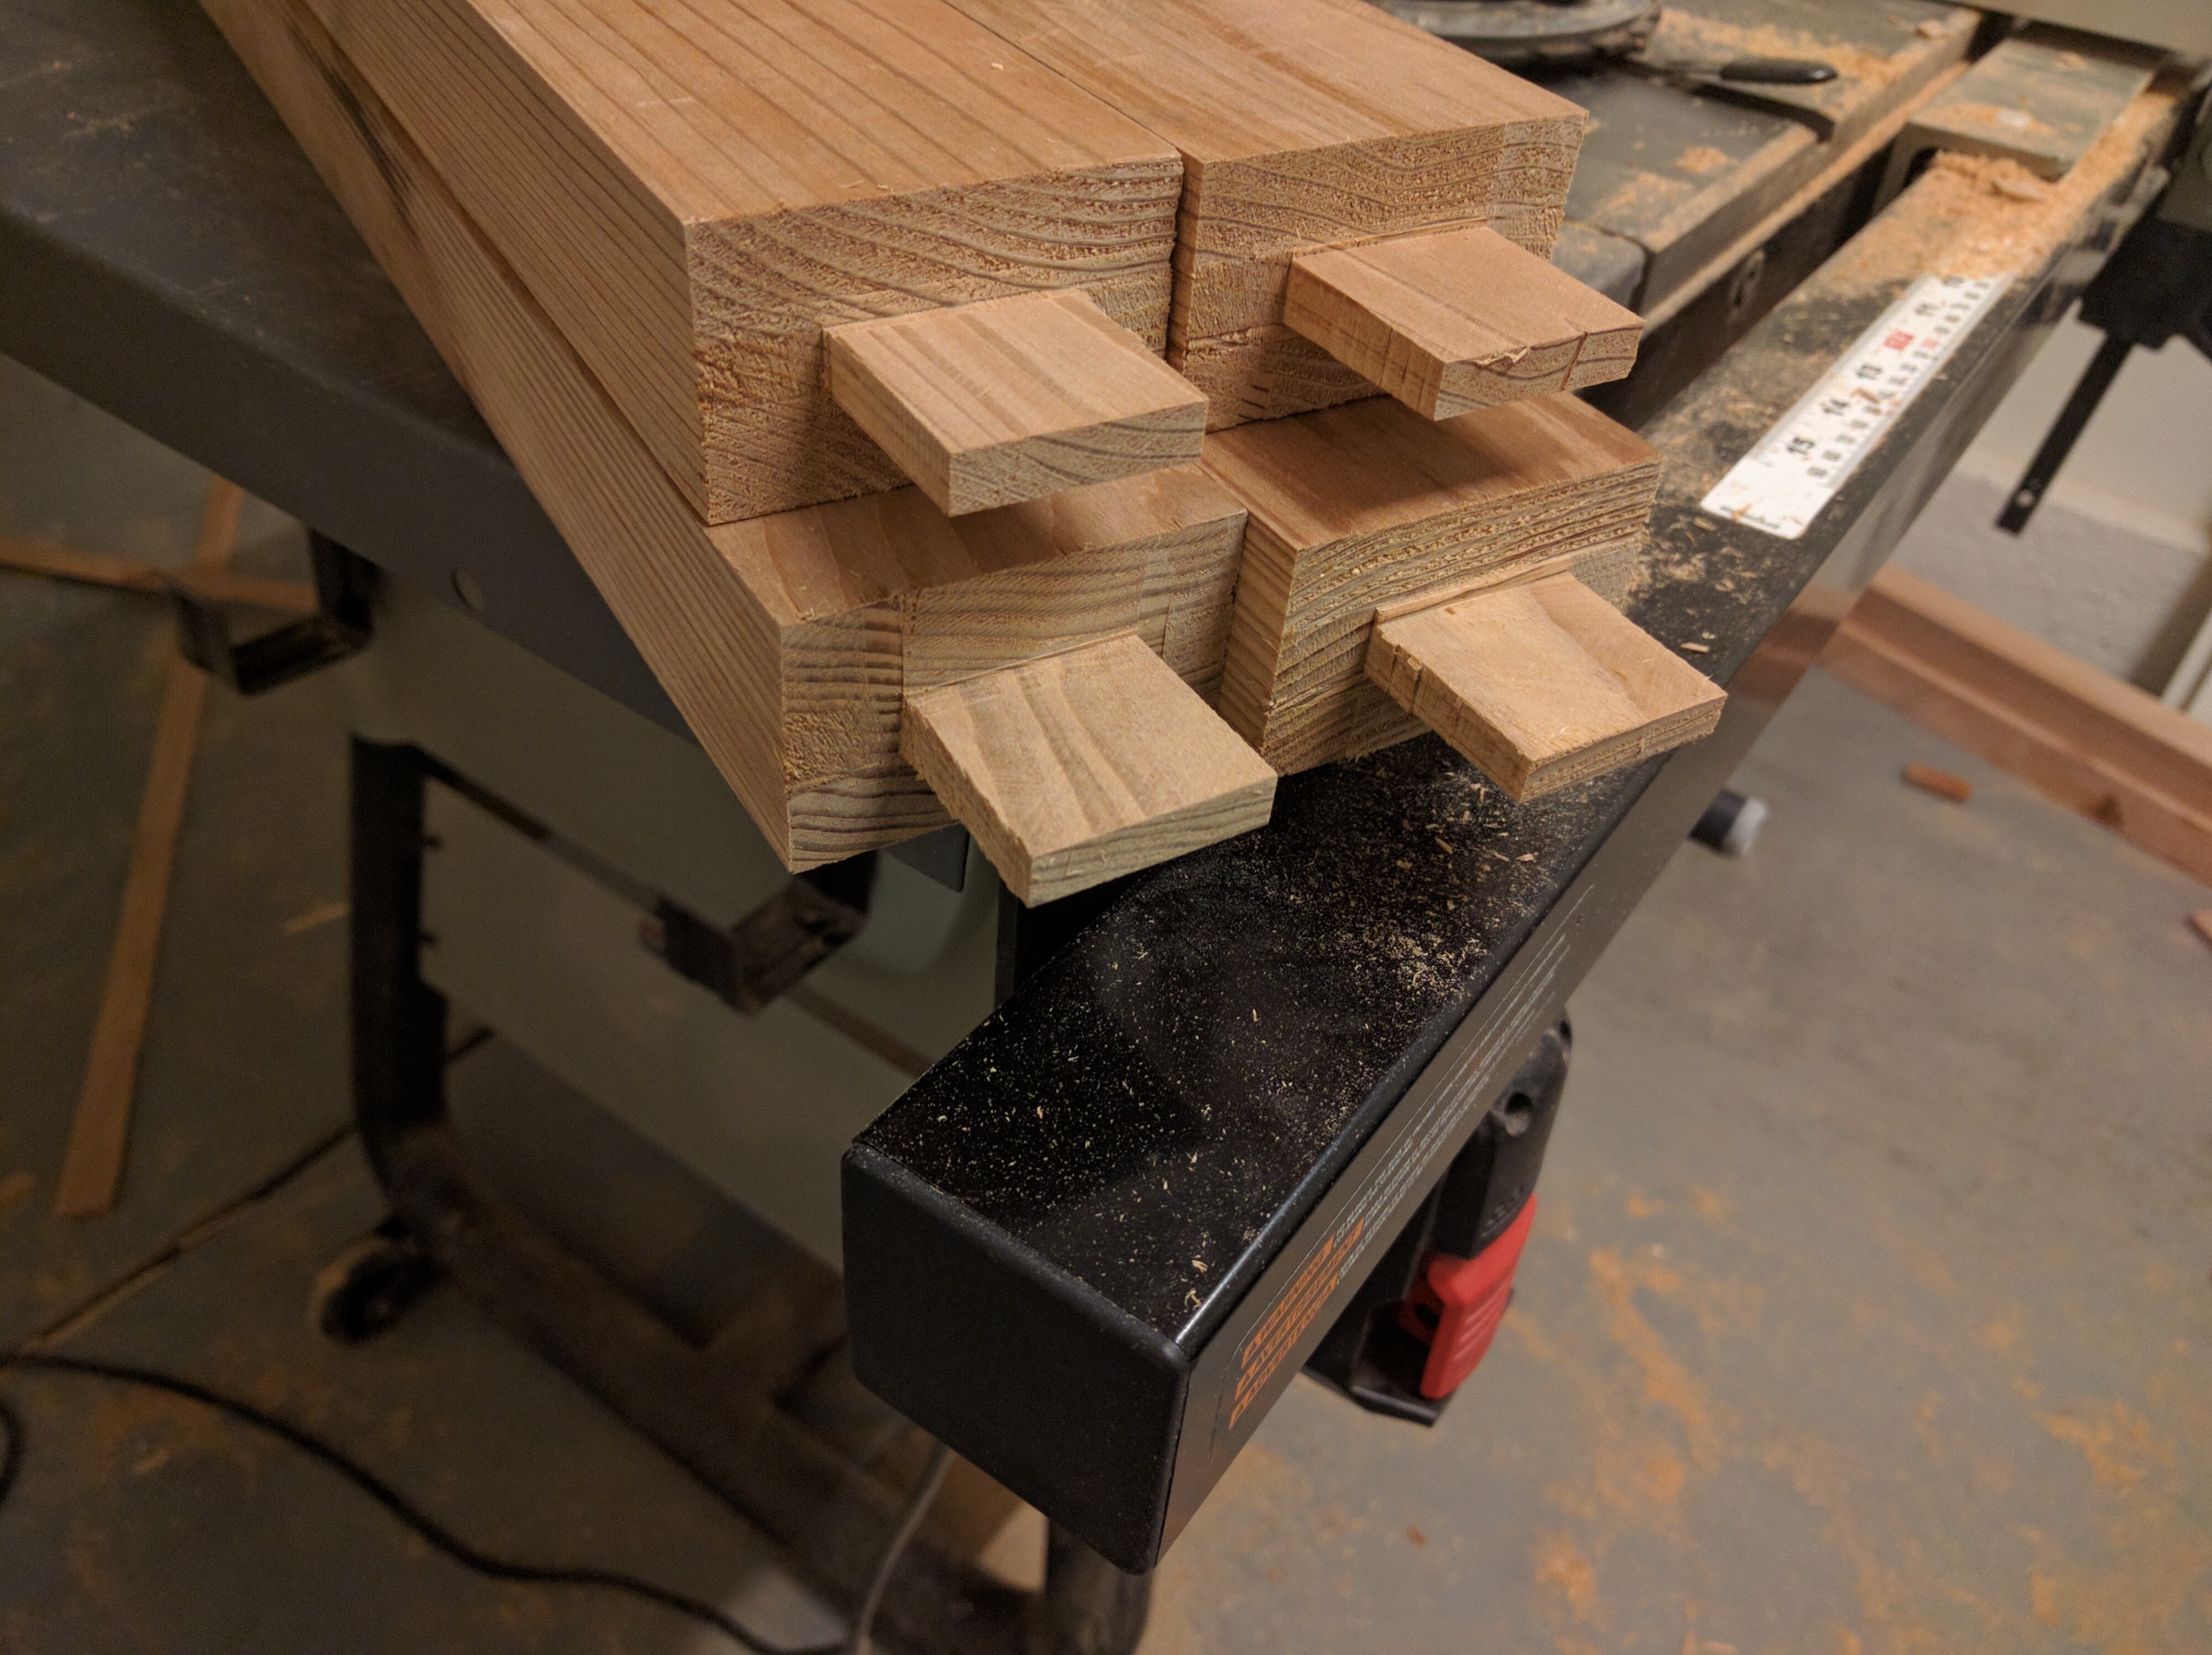
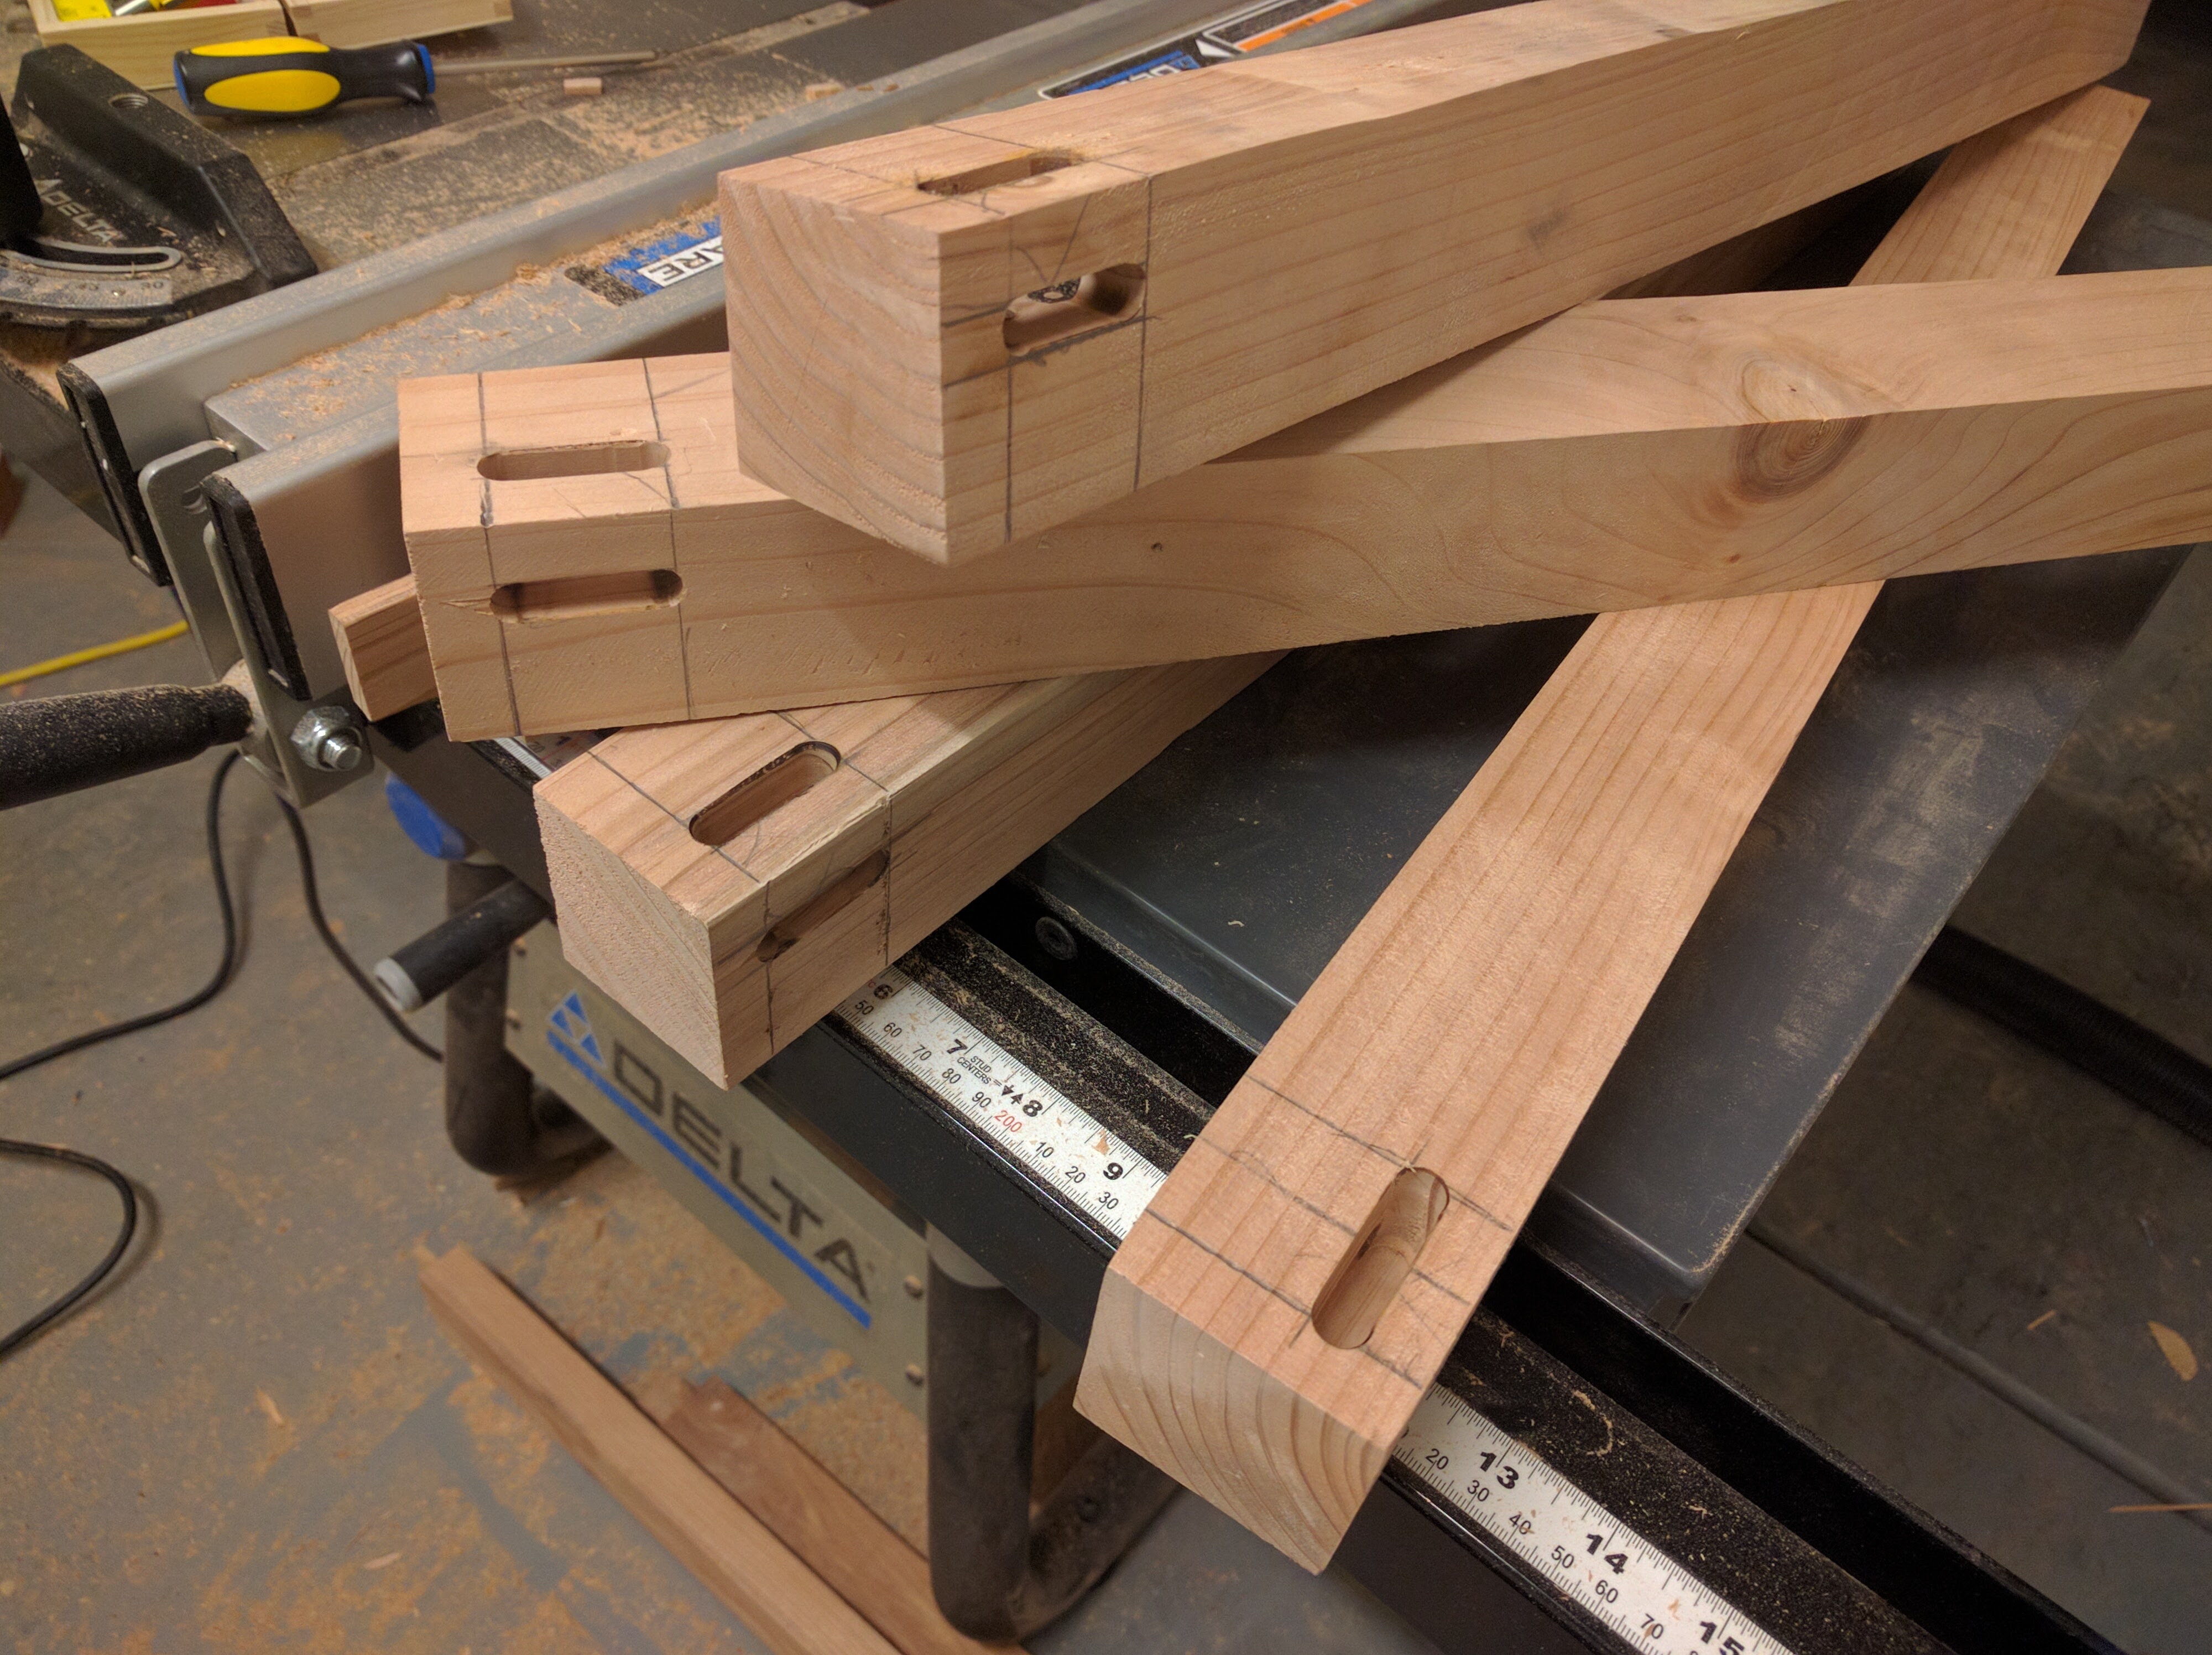
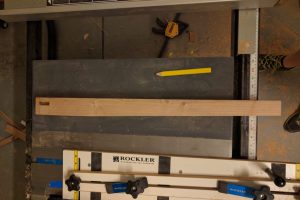
Using my Plunge Base Mortise with a straight bit I cut the mortises to receive the leg tenons. These legs were originally milled down from a 4×4. When routing thinner stock it is imperative you use and edge guide and the router base is properly supported. I built my own using a design I saw on Jay Bates site here.
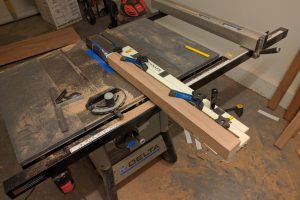
With all the mortises cut it was time to move back over to the table saw. I used the Rockler Tapering Jig. For these legs I was going to be cutting a 4-sided taper. When cutting a 4-sided taper it is important to keep the cut offs in order to use them as wedges and support the piece when making the final cuts.
- Legs secured firmly in place on the tapering jig
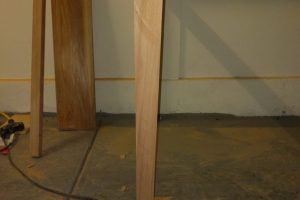
- Table leg fresh off the taper
- Up close with the four sided taper
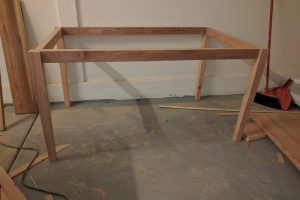
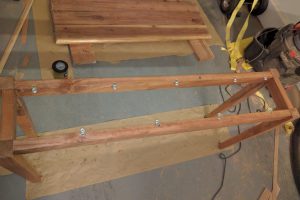
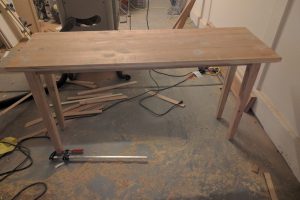
I then assembled the frame with glue and clamps. After the table was dry I used a forstner bit and some Figure-8 fasteners to attach the table top.
- Dry fit of the frame
- I was a little paranoid about how many I needed
- Dry fit of the now glued frame and the table top
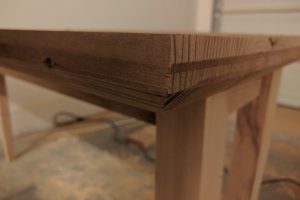
- I used a chamfer bit on my router to cut a 45 degree angle on the underside of the table and a 11.25 degree on the top
With the table assembled it was time to add a decorative chamfer to lighten the profile of the table, and apply a few coats of Satin Polyacrylic finish.
- I used a chamfer bit on my router to cut a 45 degree angle on the underside of the table and a 11.25 degree on the top
- An up close look at the polyurethane satin finish
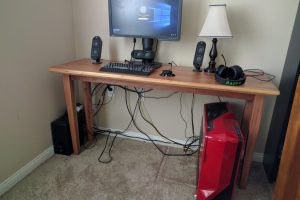
- New desk finally in place.
Advertisement
